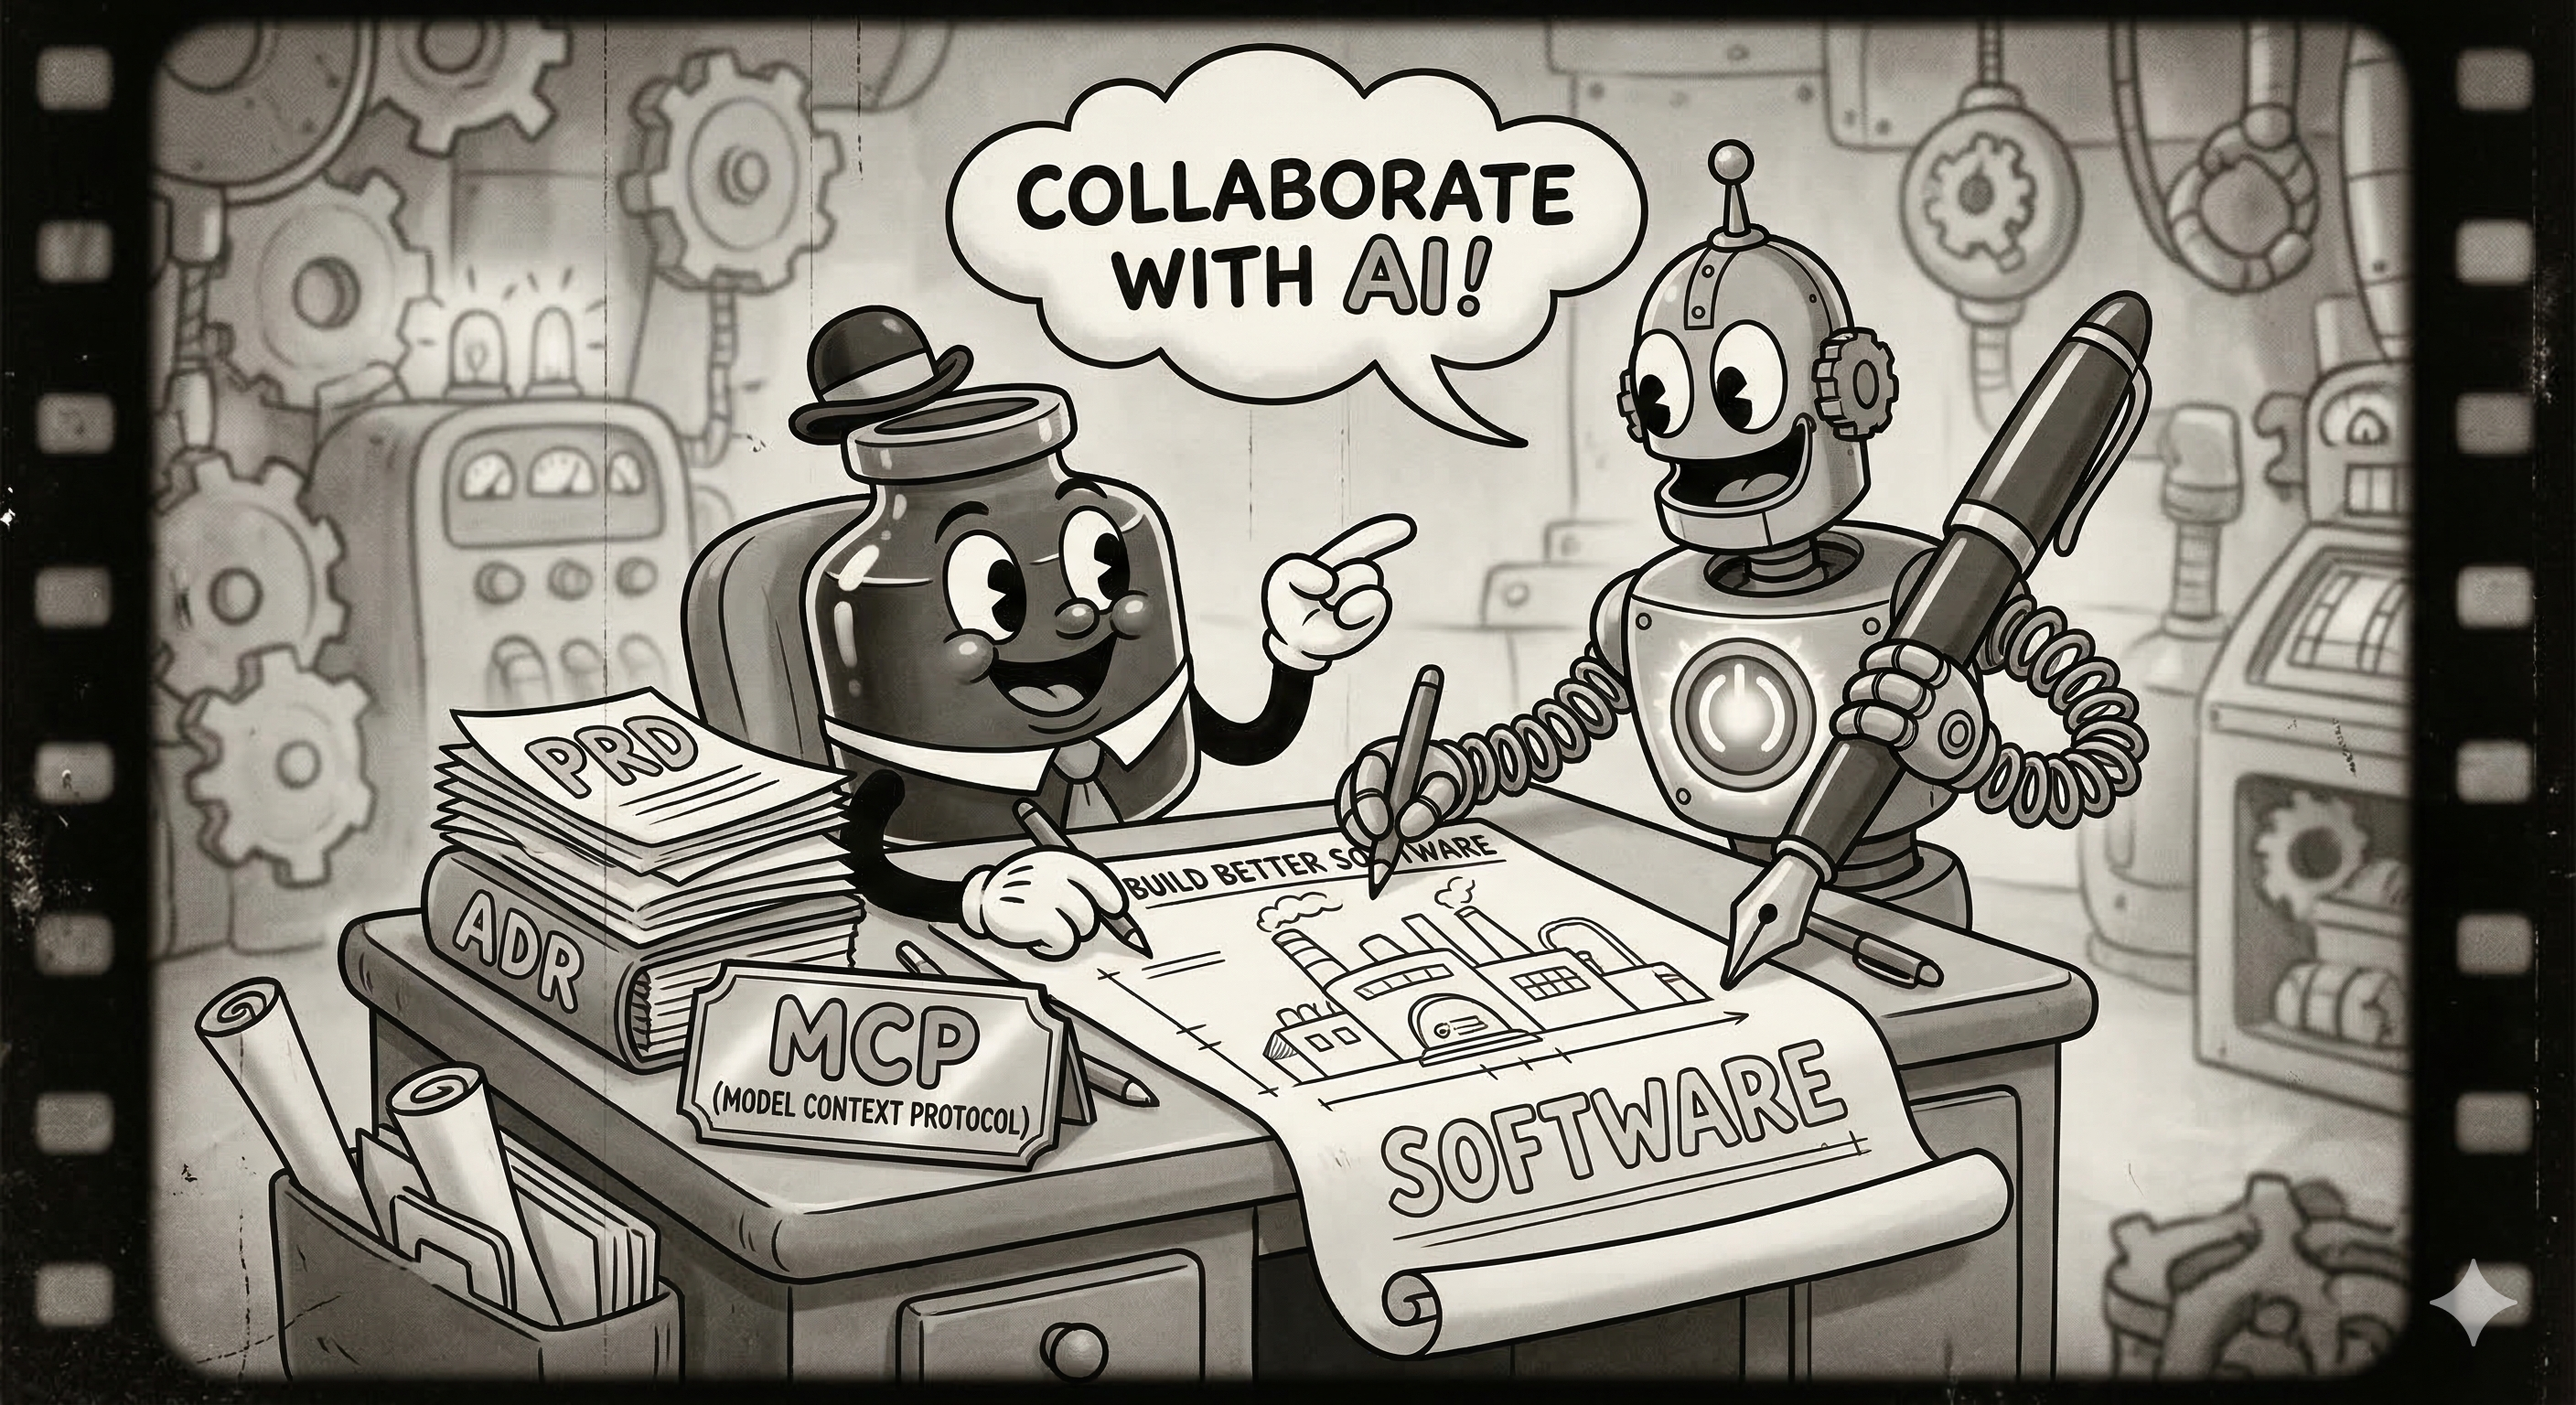
Ready to transform how you build software? Today, we're going on an exciting journey into the world of AI-assisted development. You'll learn how to collaborate with AI agents by creating clear, structured documents that make them incredibly effective. Think of it as learning to speak the language of your new AI partner!
By the end of this adventure, you'll have a fully functional app and a toolkit of AI prompting skills that you can use on any project. Ready to dive in? 🚀
What You'll Build
✨ A rock-solid Product Requirements Document (PRD.md)
🤖 A personalised AI Agent configuration (frontend-specialist.md)
🛠️ A reusable LocalStorage Skill (localstorage.md)
🧪 Unit Testing Skill (Bonus)
📝 A sleek Task Manager web app with up-to-date documentation via Context7
Choose Your Favourite Tool
Pick the one that fits your style:
Antigravity IDE (A modern, agentic editor built for AI)
Antigravity CLI (Perfect if you love the terminal)
What You'll Need
A personal @gmail.com account (see Prerequisites)
About 45 minutes of focused time
A basic understanding of web development
To ensure a smooth experience during this workshop, please review and complete these prerequisites.
1. Use a Personal Account
2. Pre-Workshop Tool Installation
To save time during the session, please install one of the following tools (your choice) before arriving:
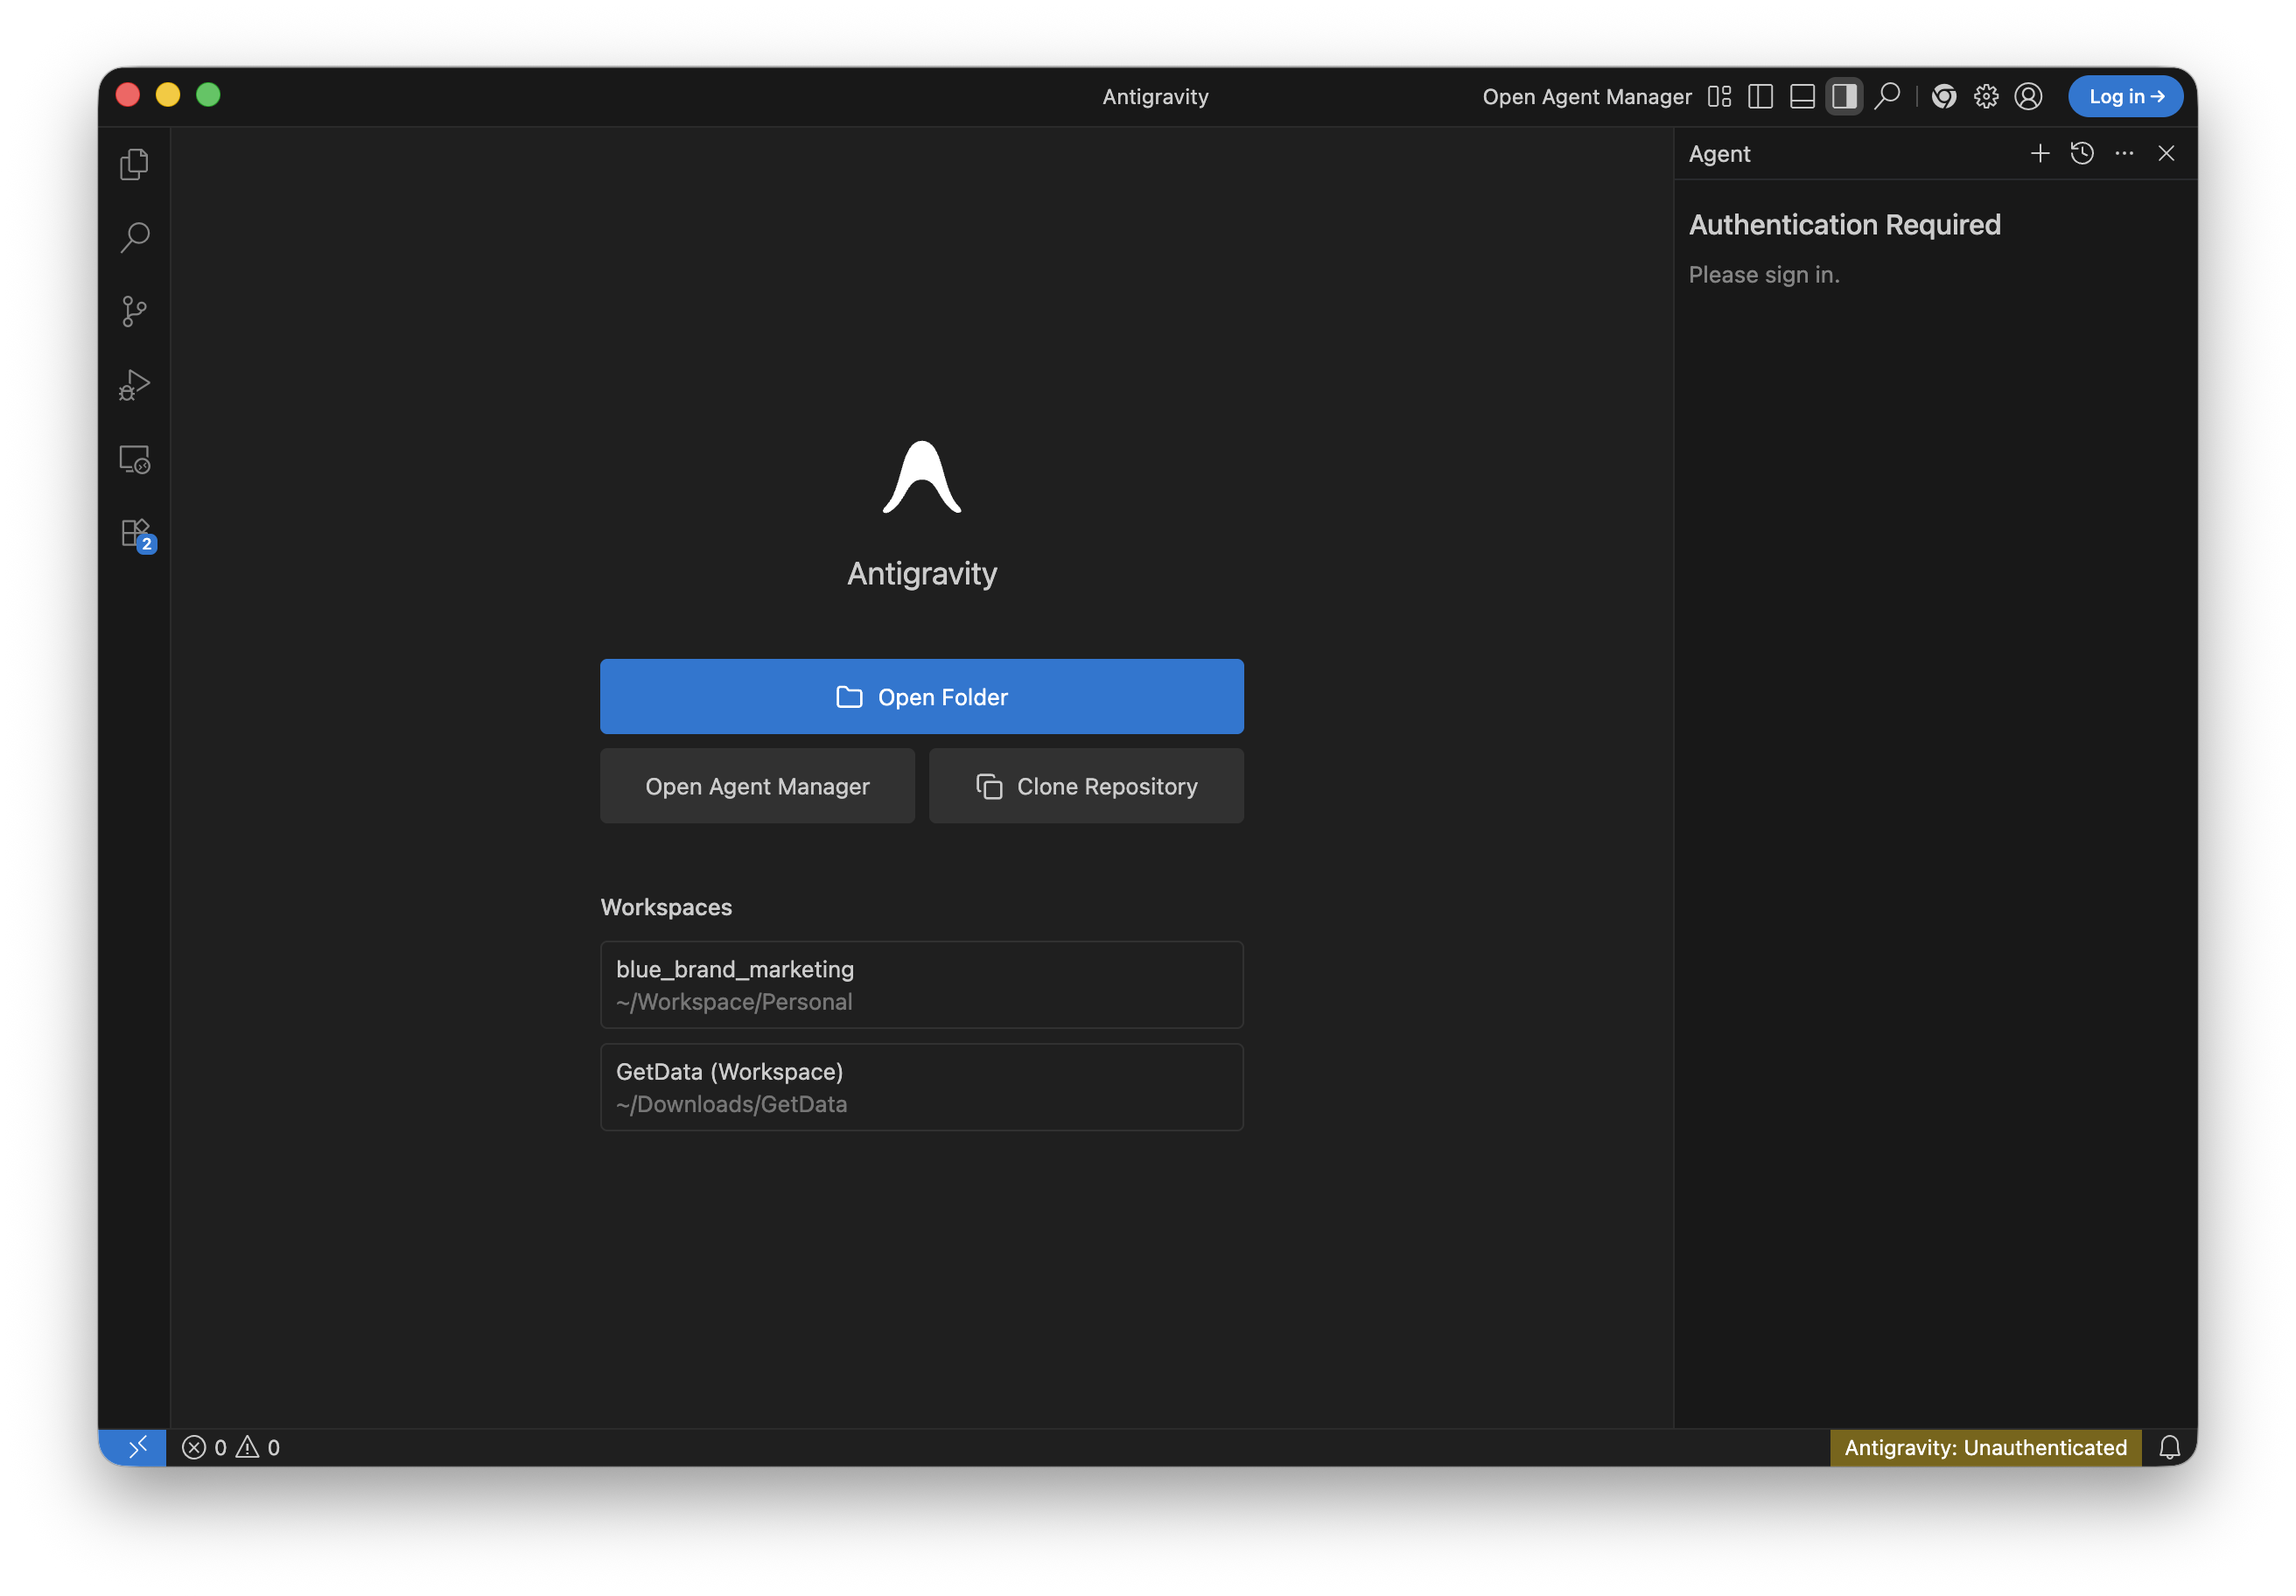
Option A: Antigravity IDE (Standalone Editor)
Download the standalone editor to get started:
downloadDownload Antigravity IDELaunch the app and Sign in with Google.
Option B: Antigravity CLI (Terminal)
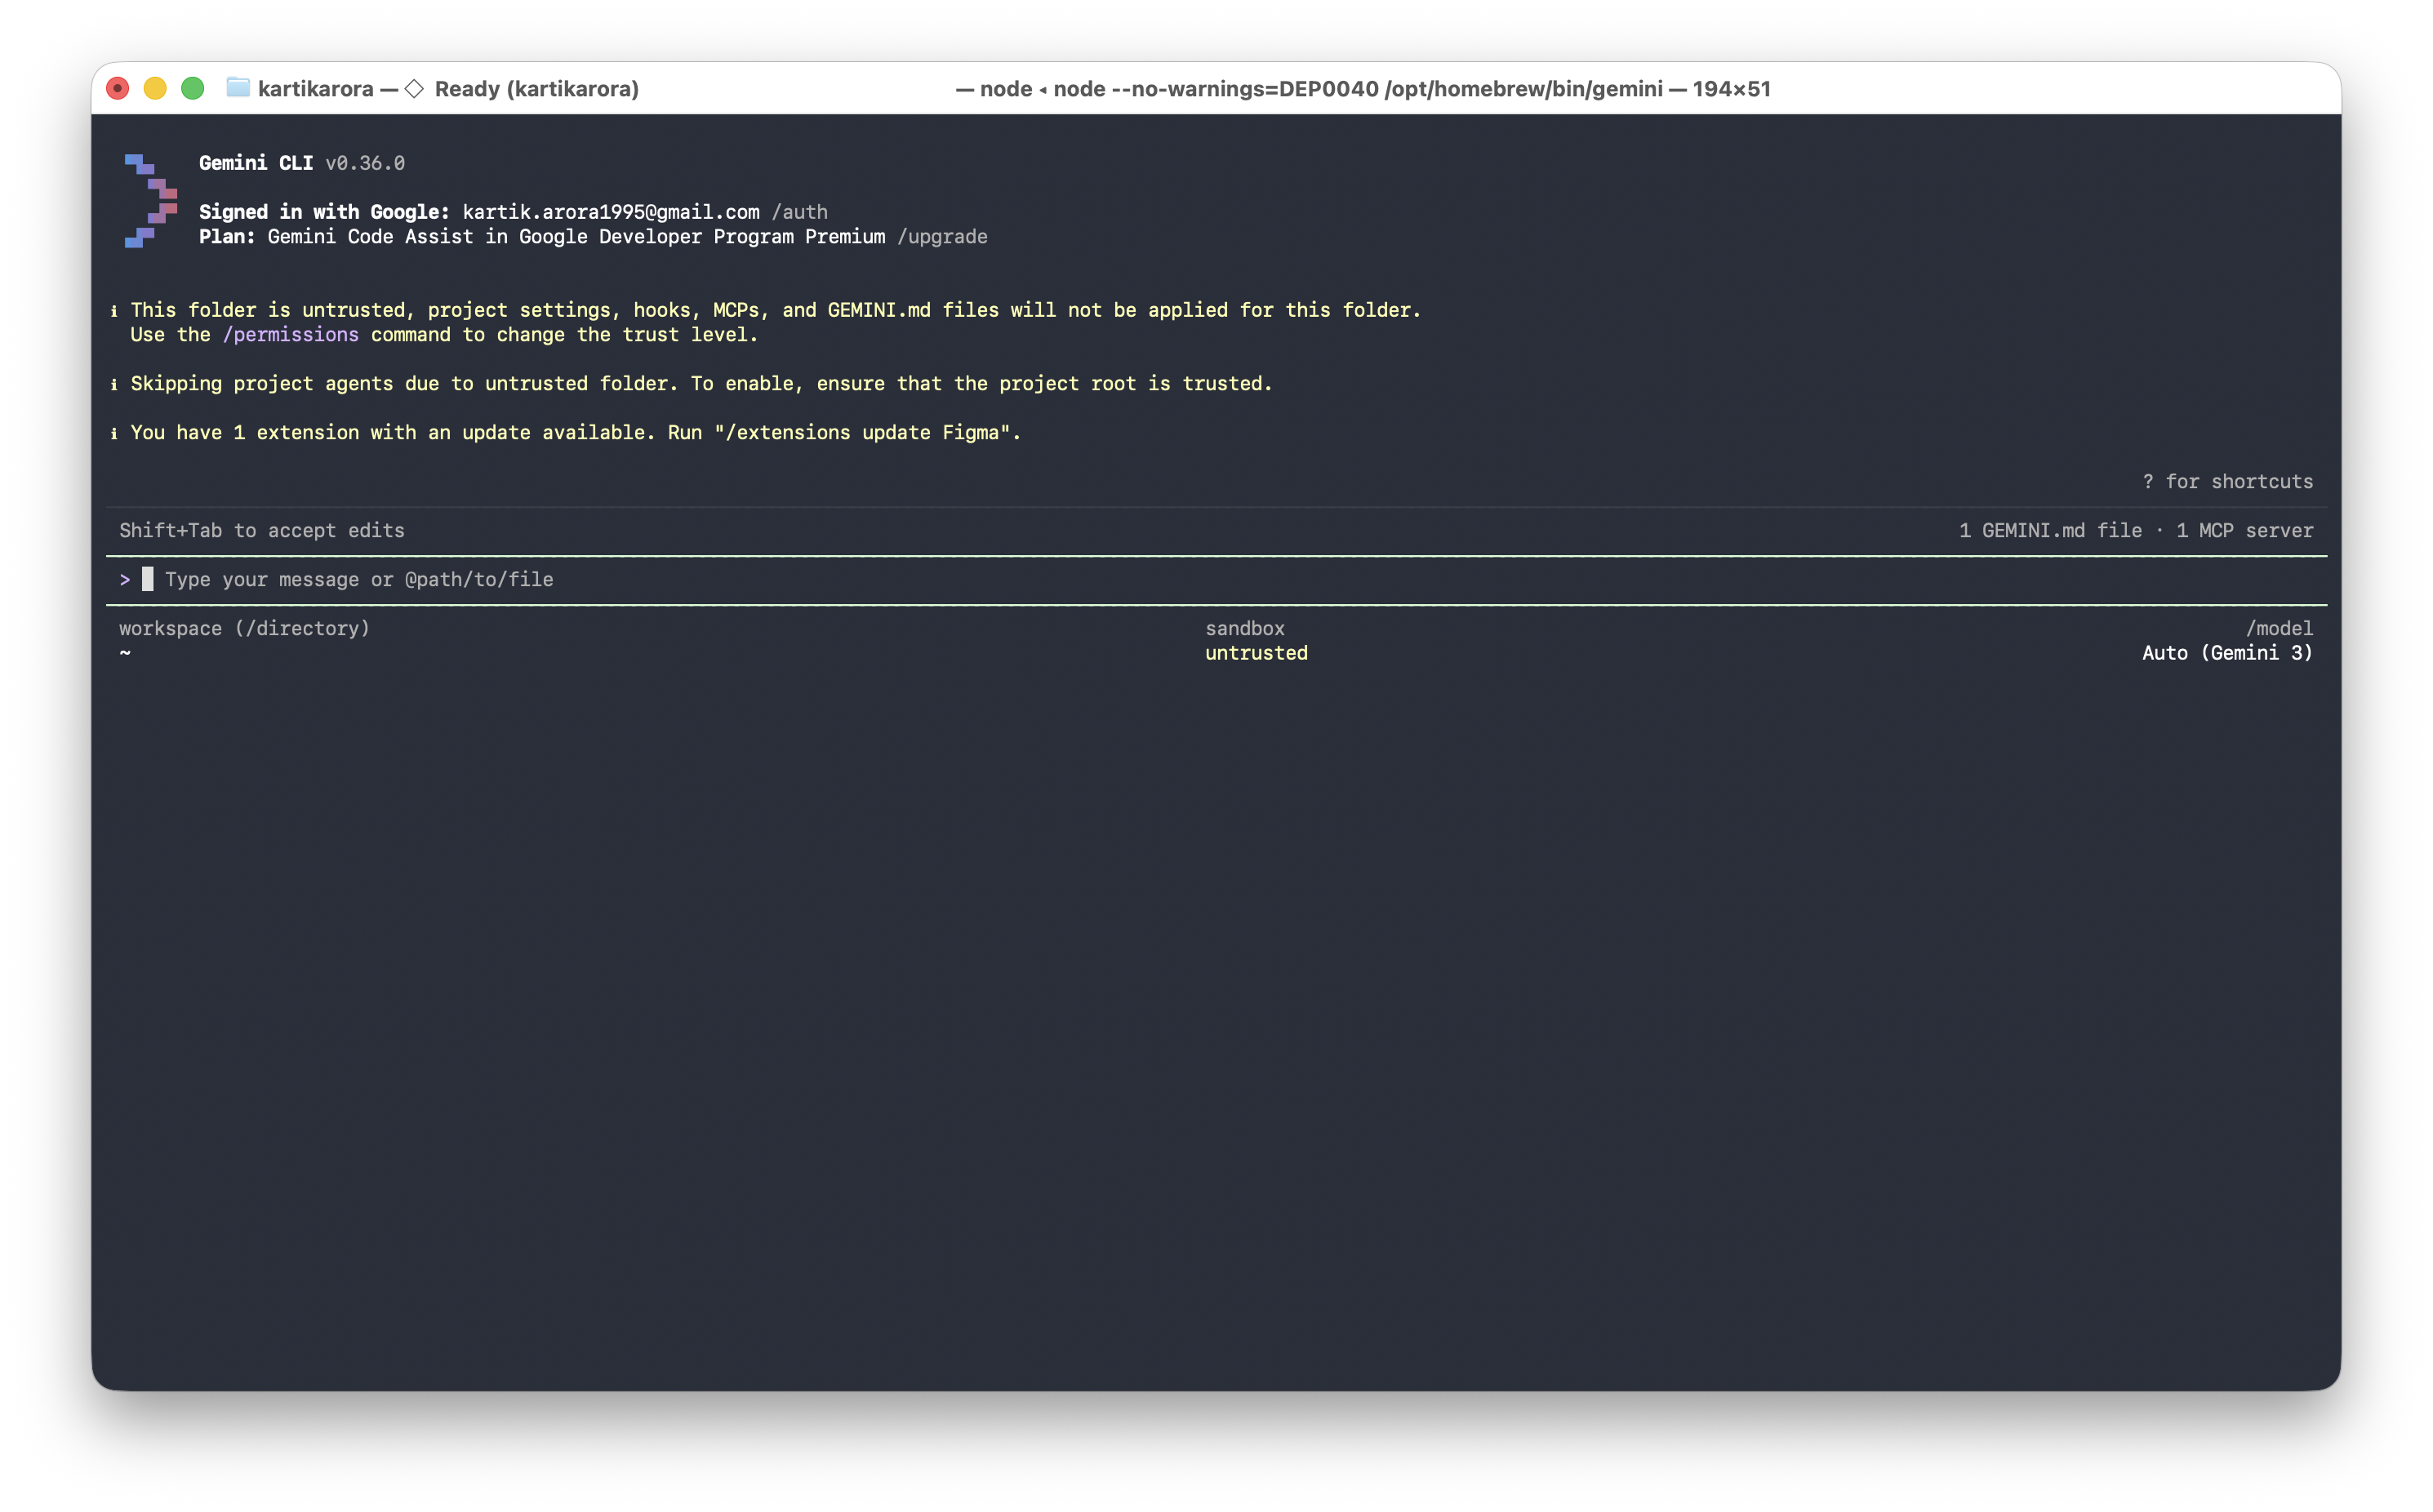
Install the CLI:Run the following command in your terminal:
# macOS/Linux
curl -fsSL https://antigravity.google/cli/install.sh | bash
# Windows
curl -fsSL https://antigravity.google/cli/install.cmd -o install.cmd && install.cmd && del install.cmd
Authenticate:Run the CLI in your terminal and select "Sign in with Google":
agy
3. Choose Your Objective
During the workshop, the workflow remains the same regardless of what you build:
Guided: Follow this official Codelab to build a sample application from scratch.
Independent: Bring a specific idea, a small feature, or a prototype you want to build using these AI tools.
Now that you've installed your chosen tool, let's get your project workspace ready!
Option 1: Antigravity IDE
If you're using the standalone editor:
Launch Antigravity IDE and ensure you're signed in.
Start a new project: Name it
my-task-manager.Explore: Antigravity IDE is ready to help you generate files right inside the editor!
Option 2: Antigravity CLI
If you're using the terminal, set up your project structure:
Create your project space:
mkdir -p my-task-manager/.gemini/{prd,skills,agents}
cd my-task-manager
Verify Authentication:Run
agyin your terminal to ensure you're signed in. If not, follow the prompt to "Sign in with Google."
Let's start with the most important part: the Product Requirements Document (PRD). This is the heart of your project—it's the source of truth that helps your AI assistant understand exactly what you're dreaming of building!
The Prompt (Ready to copy-paste!)
Copy this prompt and get ready to see Gemini's magic in action:
Act as a Senior Software Architect.

Create a Product Requirements Document (PRD) for a "Task Manager" web app and save it to `.gemini/prd/PRD.md`.
Please ensure that the markdown file begins with the following frontmatter:
---
name: Task Manager Web App
description: A web application for managing tasks.
version: 0.1.0
---

REQUIREMENTS:
- Single HTML file (no build tools)
- Vanilla JavaScript only (no frameworks)
- LocalStorage for persistence
- Mobile responsive

Ask me clarifying questions, one at a time.
Option 1: Antigravity IDE
Use the AI chat panel (Cmd/Ctrl+L or chat icon)
Paste the prompt above
Antigravity IDE will generate and create the file automatically (it will ask for permission)
Option 2: Antigravity CLI
Launch Antigravity CLI:
agy
Paste the prompt (the one above) into the interactive shell.
Once generated, the tool will ask for permission to write the file.
Now, let's give your AI assistant a personality and some clear instructions. This frontend-specialist.md file will define how your AI partner thinks and works, ensuring they always follow your lead and technical standards.
The Prompt (Same for All Tools)
Create an agent configuration for an AI coding assistant and save it to `.gemini/agents/frontend-specialist.md`.
Please ensure that the markdown file begins with the following frontmatter:
---
name: Frontend Specialist
description: A senior frontend engineer specialising in vanilla JS.
skills: [localstorage]
prompt: "You are a Senior Frontend Engineer specialising in vanilla JS..."
version: 0.1.0
---

CONTEXT (from PRD):
- Vanilla JavaScript only
- No frameworks/build tools
- LocalStorage for data
- Mobile responsive

STRUCTURE:
1. ROLE: Persona (senior frontend engineer, vanilla JS specialist)
2. BEHAVIOR: How to work (read PRD first, use tools, test code)
3. COMMUNICATION: Style (concise, direct, professional)
4. TECHNICAL STANDARDS:
   - Semantic HTML5
   - CSS custom properties
   - Vanilla JS ES6+
   - Accessibility first
5. PROHIBITED:
   - No React/Vue/frameworks
   - No npm dependencies
   - No inline styles
   - No build tools

Format as markdown with clear sections.
Option 1: Antigravity IDE
Use AI chat (Cmd/Ctrl+L)
Paste prompt → Antigravity IDE generates and creates the file
Option 2: Antigravity CLI
Launch Antigravity CLI:
agy
Paste the prompt into the interactive shell.
Once generated, the tool will ask for permission to write the file.
Skills are like "mini-manuals" that teach your AI exactly how to handle specific tasks. Let's create one for managing data, giving your assistant the expertise it needs to be super reliable!
The Prompt (Same for All Tools)
Create a SKILL document: "LocalStorage Management" and save it to `.gemini/skills/localstorage.md`.
Please ensure that the markdown file begins with the following frontmatter:
---
name: LocalStorage Management
description: Manage LocalStorage safely with error handling and fallback.
version: 0.1.0
---

STRUCTURE:

## SKILL: LocalStorage Management

### Purpose
Safe, consistent LocalStorage operations with error handling

### When to Use
- Saving user data
- Caching state
- Persisting preferences

### Mandates (REQUIRED)
1. Always use try-catch
2. Validate data before saving
3. Use JSON.stringify/parse for objects
4. Provide fallback for disabled localStorage

### Prohibited (FORBIDDEN)
- Never store passwords/tokens
- Don't save without validation
- Avoid large datasets (>5MB)

### Example Implementation
```javascript
// Save with error handling
function saveTasks(tasks) {
  try {
    if (!Array.isArray(tasks)) throw new Error('Invalid data');
    localStorage.setItem('tasks', JSON.stringify(tasks));
    return true;
  } catch (error) {
    console.error('Save failed:', error);
    return false;
  }
}

// Load with fallback
function loadTasks() {
  try {
    const data = localStorage.getItem('tasks');
    return data ? JSON.parse(data) : [];
  } catch (error) {
    console.error('Load failed:', error);
    return [];
  }
}
```
Option 1: Antigravity IDE
Use AI chat → Paste prompt
Antigravity IDE generates and creates the file
Option 2: Antigravity CLI
Launch Antigravity CLI:
agy
Paste the prompt into the interactive shell.
Once generated, the tool will ask for permission to write the file.
Now for the best part! We're going to use all those documents you just created to build your actual app. It's time to see your hard work pay off!
Generate the code
It's time to let the AI do the heavy lifting while you take the lead as the architect. This is where your vision truly becomes reality!
Prompt (Same for All Tools):
Build a task manager following these documents:

PRD: @.gemini/prd/PRD.md
AGENT: @.gemini/agents/frontend-specialist.md
SKILL: @.gemini/skills/localstorage.md

Create a single `index.html` file with:
1. HTML structure (semantic tags)
2. CSS (custom properties, mobile-first)
3. JavaScript (vanilla, using the LocalStorage SKILL)

Features:
- Add task
- Delete task
- Mark complete
- Persist data (using SKILL pattern)

Follow ALL PRD constraints.
No frameworks. No build tools.
Option 1: Antigravity IDE
Use AI chat with the build prompt
Reference your PRD, AGENT, SKILL files (Antigravity IDE can read project files)
Agent generates and creates
index.html
Option 2: Antigravity CLI
Launch Antigravity CLI:
agy
Paste the build prompt into the interactive shell.
Once generated, the tool will ask for permission to write the file.
Try it out!
You've built it—now let's see it in action:
✅ Add tasks
✅ Delete tasks
✅ Mark complete
✅ Refresh page (data persists!)
✅ Mobile view
As your project grows, you'll want to remember why you made certain decisions. This is where Architectural Decision Records (ADRs) come in handy—they're like a diary for your project's soul!
Create Your First ADR
Prompt for Gemini:
Create ADR-001: "Pure CSS and Vanilla JS Architecture" and save it to `.gemini/adrs/ADR-001.md`.
Please ensure that the markdown file begins with the following frontmatter:
---
name: ADR-001
description: Architectural decision to use pure CSS and Vanilla JS
version: 0.1.0
---

Include:
- Context: Why we chose this (no build tools, simple deployment, educational)
- Decision: We will only use CSS Custom Properties and Vanilla ES6+
- Consequences: No Sass/React, but zero dependencies and faster loading
Option 1: Antigravity IDE
Use AI chat (Cmd/Ctrl+L)
Paste prompt → Antigravity IDE generates and creates the file
Option 2: Antigravity CLI
Launch Antigravity CLI:
agy
Paste the prompt to create ADR-001 into the interactive shell.
Once generated, the tool will ask for permission to write the file.
Update the agent definition
To make your agent follow these decisions, you must link them in .gemini/agents/frontend-specialist.md.
Prompt for Gemini:
Update .gemini/agents/frontend-specialist.md to include a new section "Rules from ADRs".
Link ADR-001: "Pure CSS and Vanilla JS Architecture" and explain that all new features must comply with it.
Option 1: Antigravity IDE
Use AI chat (Cmd/Ctrl+L)
Paste prompt → Antigravity IDE generates and updates the file
Option 2: Antigravity CLI
Launch Antigravity CLI:
agy
Paste the prompt to update
frontend-specialist.mdinto the interactive shell.Once generated, the tool will ask for permission to update the file.
Want to take things to the next level? You can give your AI assistant access to the latest documentation and code examples using Context7. This ensures your partner is always up-to-date and helps you avoid "AI hallucinations" from outdated training data!
Context7 is an open-source Model Context Protocol (MCP) server developed by Upstash designed to provide AI coding assistants (like Cursor, Claude, and Windsurf) with up-to-date, version-specific documentation.
Get Your API Key
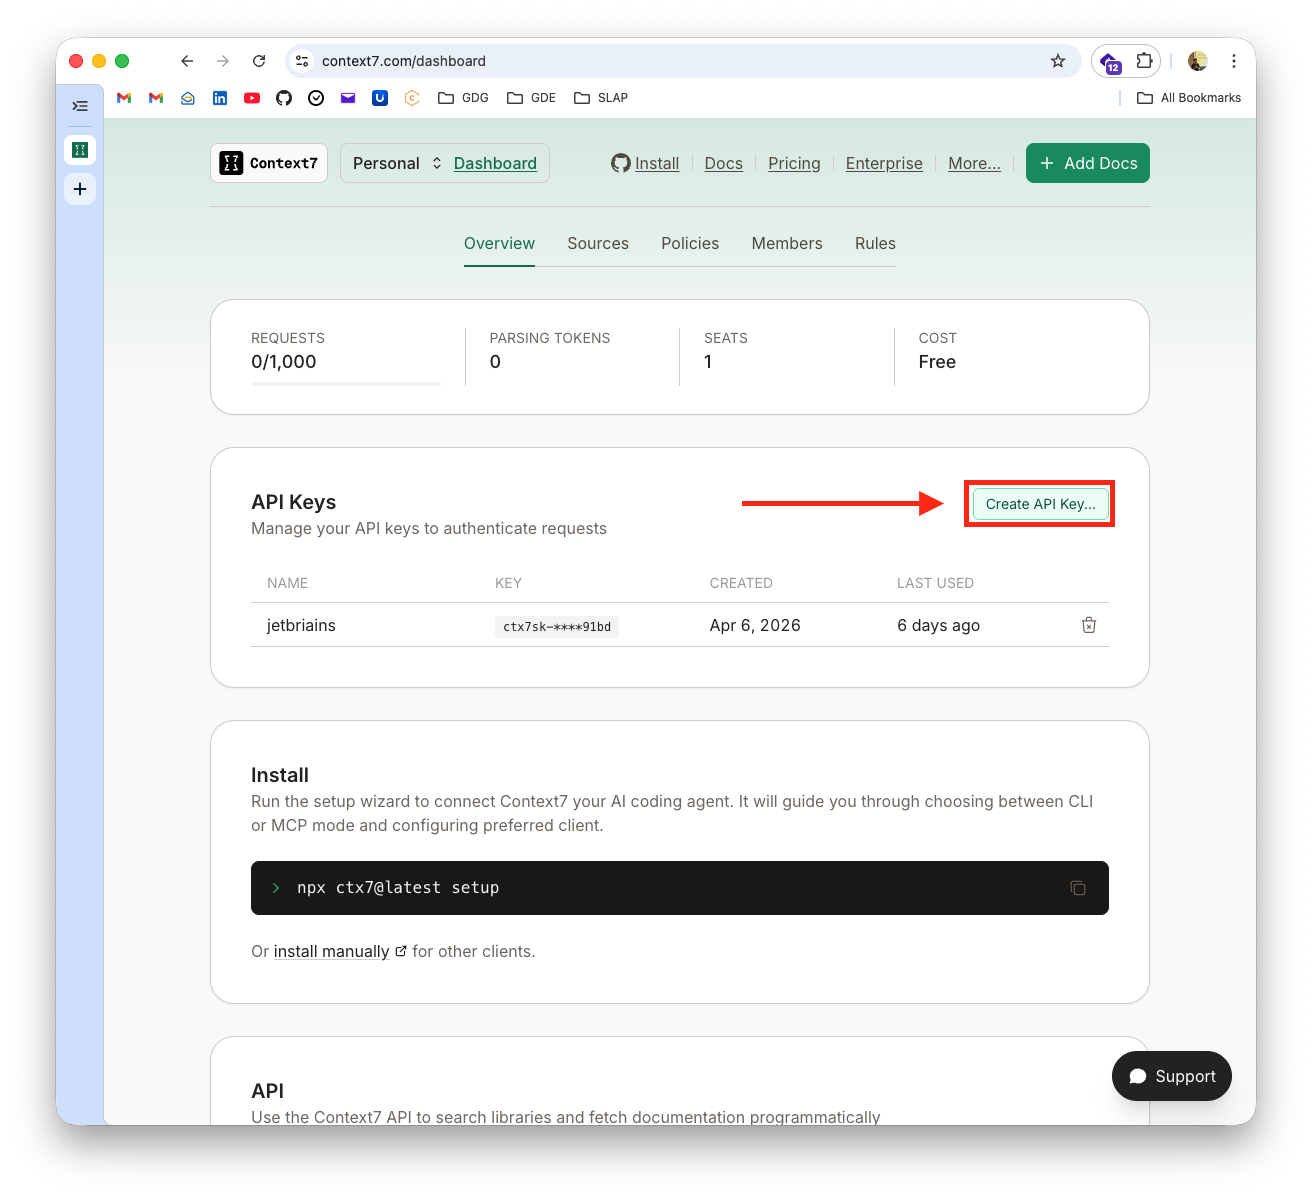
Go to the Context7 Dashboard:
Create an account (using your GitHub or Google account).
Sign in and generate your Context7 API key.
Configure MCP
Choose the method that fits your workflow:
Option A: CLI Setup (Easiest)
Install the Context7 CLI to automatically configure your MCP server.
Install the CLI:Choose your preferred package manager:
# Using npm
npm install -g ctx7

# OR using Homebrew (macOS)
brew install ctx7
Run the setup:
ctx7 setup
Follow the prompts to sign in. The CLI will automatically detect and configure your MCP clients (Antigravity CLI, Cursor, etc.).
Option B: Manual Configuration (No Global Install)
If you prefer not to install it globally, you can manually configure the settings.
Get your API Key: Follow the "Get Your API Key" steps above.
Open settings file:
# Create if doesn't exist
mkdir -p ~/.gemini
touch ~/.gemini/settings.json
Edit
~/.gemini/settings.json:
~/.gemini/settings.json
{
  "mcpServers": {
    "context7": {
      "httpUrl": "https://mcp.context7.com/mcp",
      "headers": {
        "CONTEXT7_API_KEY": "YOUR_API_KEY",
        "Accept": "application/json, text/event-stream"
      }
    }
  }
}
Verify:
agy
# In the CLI, type: /mcp list
How to Use Context7
Context7 provides tools to search library documentation and resolve library identifiers.
Natural prompts:
Use context7 to find the latest documentation for the Chart.js library.
What is the newest way to implement auth in Next.js? Use context7.
Check context7 for the correct API signature for the current version of Tailwind CSS.
Why it matters:By using Context7, your AI assistant stays informed about the latest tools and libraries, reducing bugs and ensuring you're using modern, secure patterns. 🎉
Available MCP tools:
resolve-library-id- Find library identifiersget-library-docs- Fetch latest documentation
Ready for one last skill? Let's teach your AI how to write tests for your code, ensuring everything is rock-solid and works perfectly every single time.
Prompt (Same for All Tools):
Create a SKILL document: "Unit Testing with Vanilla JS" and save it to `.gemini/skills/unit-testing.md`.
Please ensure that the markdown file begins with the following frontmatter:
---
name: Unit Testing with Vanilla JS
description: Ensure code reliability without external testing frameworks (using simple assertions).
version: 0.1.0
---

STRUCTURE:

## SKILL: Unit Testing

### Purpose
Ensure code reliability without external testing frameworks (using simple assertions)

### When to Use
- Validating business logic
- Testing utility functions
- Regressions checks

### Mandates (REQUIRED)
1. Use a simple `assert(condition, message)` helper
2. Group tests by function/module
3. Log results to the console (Success/Fail)
4. Test both happy path and edge cases

### Prohibited (FORBIDDEN)
- No external dependencies (Jest, Mocha, etc.)
- No complex mocking unless absolutely necessary
- Don't skip error cases

### Example Implementation
```javascript
function assert(condition, message) {
  if (condition) {
    console.log('✅ PASS: ' + message);
  } else {
    console.error('❌ FAIL: ' + message);
  }
}

// Example test suite
function testLocalStorage() {
  console.group('Testing LocalStorage SKILL');

  const testData = { id: 1, task: 'Test' };
  saveTasks([testData]);
  const loaded = loadTasks();

  assert(loaded.length === 1, 'Should load one task');
  assert(loaded[0].task === 'Test', 'Task content should match');

  console.groupEnd();
}
```

### Testing
- Run tests in the browser console
- Verify all assertions pass

Format with complete code examples.
Option 1: Antigravity IDE
Use AI chat → Paste prompt
Antigravity IDE generates and creates the file
Option 2: Antigravity CLI
Launch Antigravity CLI:
agy
Paste the prompt into the interactive shell.
Once generated, the tool will ask for permission to write the file.
You did it! 🏆 You've gone from zero to a fully functional, AI-powered task manager. More importantly, you've mastered the art of "guiding" AI with structured documentation. That's a massive achievement!
Look at everything you've achieved:
✨ Structured AI Docs: You created a PRD, AGENT, and SKILL files.
📱 A Real Web App: You built a complete task manager from scratch.
🧠 Up-to-date Intelligence: You gave your AI the latest documentation via Context7.
🚀 New Workflows: You've learned a faster, more architectural way to build.
Your New Superpowers
The Old Way:
Spending hours memorising syntax
Endless searching on Stack Overflow
Writing repetitive boilerplate manually
The New Way (The AI Way!):
Defining clear, high-level requirements
Guiding AI with structure and context
Focusing on architecture and reviewing outcomes
Tools You Mastered
Google Antigravity IDE
Antigravity CLI
Context7
What's Next?
The sky's the limit! Why not try:
Adding categories to your tasks
Building a new skill for form validation
Sharing your PRD template with a friend
Integrating Context7 into your next big project
Additional Resources
AI Studio: aistudio.google.com
Google Skills: github.com/google/skills
Context7: github.com/upstash/context7